


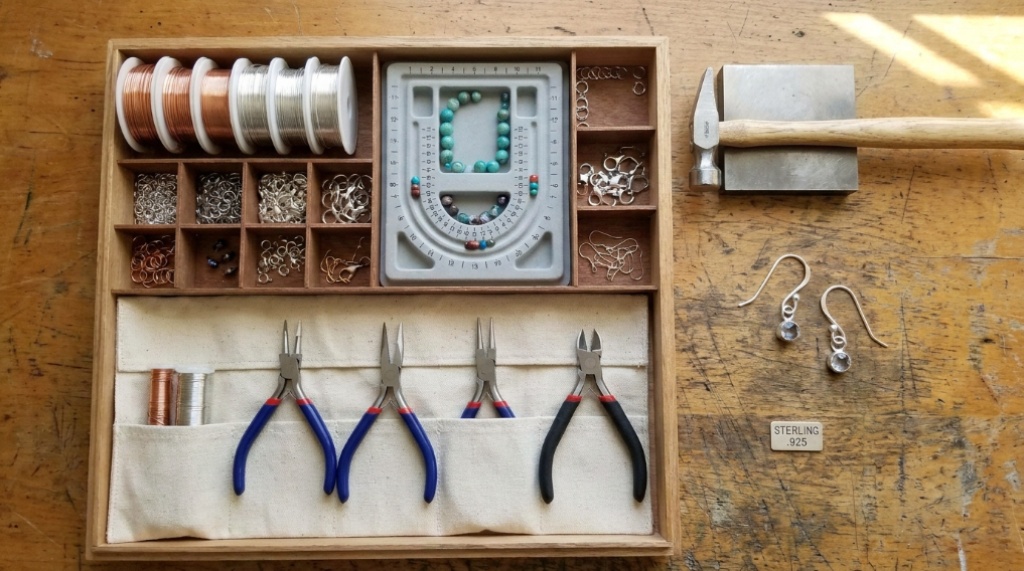
If you have priced handmade silver earrings lately, you have probably wondered whether making them yourself would be cheaper. The honest answer is: it depends on what you already own and how many pairs you plan to make. Buying a DIY earring making supplies kit can cost less than a single finished pair from a boutique, but only if you choose components that match your goals. This article breaks down the real costs, the trade-offs between buying hooks alone versus full kits, and when DIY actually makes sense.
Key Takeaways
- Sterling silver hooks are the one component worth buying in precious metal; most other earring parts (wire, beads, jump rings) work fine in base metal or plated finishes.
- A DIY earring making supplies kit usually saves money only if you will make several pairs, since single-purpose tools and mixed bead assortments add cost you may never use.
- Hook quality matters more than any other part. Sterling silver (925) reduces irritation risk for sensitive ears compared with mystery-metal or nickel-heavy hooks.
- DIY is worth it for custom sizing, gifting, and design control, not for beating mass-market prices on simple studs.
The Real Cost Question: Hooks Alone vs a Full Kit
Most beginners assume a kit is automatically the better deal. That is often false. A kit bundles tools, findings, and beads you may not need, while a small order of sterling silver hooks plus a few basic pliers can cover your first several projects for less.
The break-even point depends on three variables: how many pairs you plan to make, whether you already own jewelry pliers, and whether you want precious-metal hooks. If you are making two pairs for yourself, buying hooks and a small bead selection separately is usually cheaper and less wasteful. If you are making ten or more pairs, or you want to experiment with different styles, the convenience of a single DIY earring making supplies kit starts to pay off—especially when it includes sterling silver hooks rather than plated ones.
What belongs in a kit (and what doesn’t)
A useful kit contains hooks, jump rings, headpins or eye pins, and a small set of beads. It should also include basic tools: round-nose pliers, flat-nose pliers, and wire cutters. What you can usually skip: large mixed bead assortments you will not use, plastic storage boxes that inflate the price, and “bonus” charms that rarely match your design direction.
The hidden cost of cheap hooks
Many budget kits include silver-plated or alloy hooks. These can tarnish quickly, and the plating can wear off where it contacts skin. For anyone with metal sensitivity, that is the fastest way to turn a fun hobby into an itchy disappointment. Sterling silver hooks cost more upfront but solve this problem permanently.
Sterling Silver Hooks: Why They Are the One Upgrade That Matters
Sterling silver is 92.5% silver alloyed with another metal (usually copper) for strength. It is softer than stainless steel, resists tarnish better than base metal, and is far less likely to cause irritation than nickel-containing alloys. For earrings, where the metal sits in a piercing for hours, this matters more than any other material choice.
Not all “silver” hooks are equal. Silver-plated hooks have only a thin coating over brass or copper. Over time, that coating wears through at the point of friction—exactly where your ear touches the metal. Solid 925 sterling silver hooks do not have this problem because the silver runs all the way through.
How to verify sterling silver hooks
- Look for a “925” stamp on the hook or its packaging.
- Check the listing description for “solid sterling silver,” not “silver tone” or “silver plated.”
- Be cautious of unusually low prices per pair; sterling silver has a real material cost.
When plated hooks are acceptable
If you are making earrings for a photoshoot, a costume, or a one-time event and the wearer has no metal sensitivity, plated hooks are fine. They are also reasonable for practice pieces while you learn wire-wrapping. Just do not sell or gift them as long-term wear items without disclosing the material.
Tools You Actually Need (and What You Can Skip)
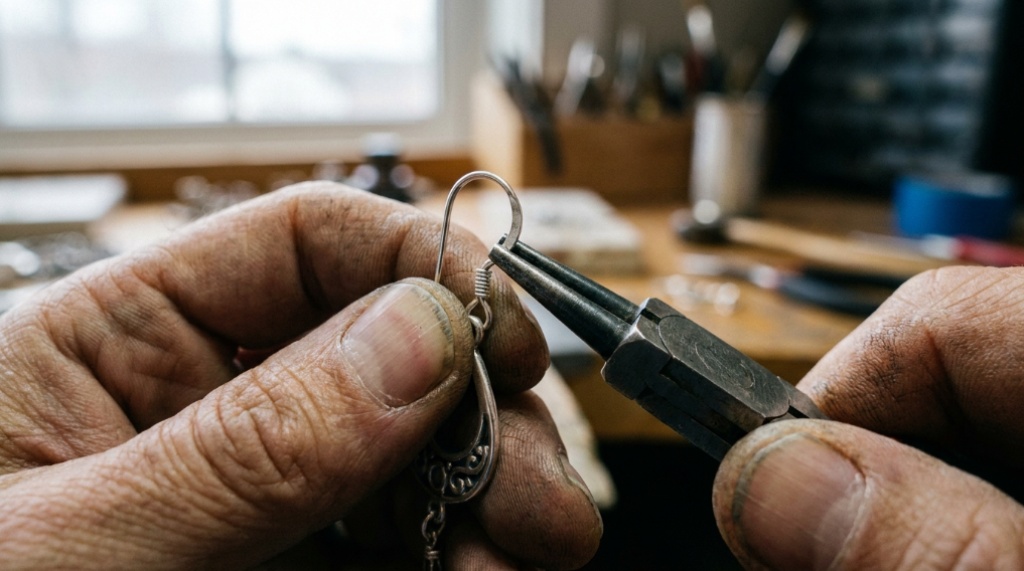
A full jewelry-making toolkit can cost as much as a nice pair of finished earrings. You do not need most of it to start. Here is the minimum viable setup:
- Round-nose pliers — for forming loops in wire.
- Flat-nose pliers — for gripping and straightening.
- Wire cutters — for trimming headpins and wire.
- Hooks — sterling silver if sensitivity is a concern.
- Jump rings and headpins — in a gauge that matches your wire.
Skip: nylon-jaw pliers (unless you work with delicate finishes), a jeweler’s saw, a polishing tumbler, and a ring mandrel. Those are for metal fabrication, not simple earring assembly.
Wire gauge matters more than you think
Most earring hooks accept 20- or 21-gauge wire for headpins and jump rings. If you buy 18-gauge wire, it may not fit through standard hook loops. If you buy 24-gauge, it will bend too easily under the weight of even light beads. Stick to 20 or 21 gauge for your first projects, For more wedding style ideas, check out this modern fascinator outfit inspiration for bridesmaids in chicago, il.
Is DIY Actually Cheaper? A Realistic Breakdown
DIY is cheaper per pair only after you have absorbed the tool cost, and only if you make multiple pairs. For a single pair of simple drop earrings, buying finished is usually less expensive once you factor in tools, wire, hooks, and beads.
Where DIY wins financially: making five or more pairs, using beads or stones you already own, and reusing tools across future projects. Where DIY loses: one-off projects, designs that require specialty tools, and situations where you only want one specific style.
The time factor
Simple earrings take 10 to 20 minutes per pair once you are comfortable. If your time has a high opportunity cost and you only want one pair, the math rarely favors DIY. If the process itself is enjoyable, the time cost is part of the value, not a penalty.
Common Mistakes That Make DIY Feel Not Worth It
- Buying a huge kit before knowing your style. You end up with hundreds of beads you never use. Start with one or two color palettes.
- Using plated hooks for gifts. The recipient may have sensitivities you do not know about. Sterling silver is the safer default.
- Mismatching wire and hook gauges. This causes loose loops and earrings that fall apart.
- Skipping the “close the loop” step. An open jump ring is the number one reason handmade earrings fail.
- Overworking the wire. Bending and rebending sterling silver can cause it to harden and crack. Plan your loop before you cut.
When DIY Is Clearly Worth It
DIY earring making is worth it when at least two of these are true:
- You want a specific size, length, or color that is hard to find in stores.
- You plan to make multiple pairs for gifts or personal use.
- You enjoy the process and want a creative hobby.
- You need sterling silver hooks for sensitive ears and want to control the material quality.
- You want to support a small-batch, custom look without boutique pricing.
If none of those apply, buying finished earrings is the more practical choice. There is no shame in that—DIY is a means to an end, not a moral obligation.
Frequently Asked Questions
Are sterling silver earring hooks worth the extra cost over plated hooks?
Yes, if the earrings will be worn regularly or by someone with metal sensitivity. Plated hooks can flake and expose the base metal, which is often a nickel alloy. Sterling silver hooks cost more but last longer and reduce irritation risk.
What is the minimum I need to start making earrings?
Round-nose pliers, flat-nose pliers, wire cutters, a pack of sterling silver hooks, headpins, jump rings, and a small selection of beads. That is enough for several pairs of simple drop or dangle earrings.
How do I know if a hook is real sterling silver?
Look for a “925” stamp and check that the product is described as solid sterling silver, not silver-plated or silver-tone. If the price per pair is very low, it is probably plated.
Can I make earrings without any tools?
You can assemble some pre-made components by hand, but most designs require at least round-nose pliers and cutters to form loops and trim wire. Tool-free earring making is limited to glue-on or clip-on styles.
Is DIY earring making cheaper than buying finished earrings?
Only when you make multiple pairs and reuse your tools and leftover supplies. For a single pair, finished earrings are usually cheaper once you account for tool and material costs.
What gauge wire should I use for earring hooks and headpins?
20 or 21 gauge is the standard for most earring components. It is thick enough to hold shape, thin enough to fit through standard hook loops, and works with most beads.
Conclusion
DIY earring making is worth it when you want control over materials, plan to make several pairs, or need sterling silver hooks for sensitive ears. It is not worth it if you only want one pair of simple earrings and do not already own tools. Start small: buy sterling silver hooks, a few headpins and jump rings, and the three basic pliers. Add a full DIY earring making supplies kit later, once you know which styles and materials you actually reach for.
